Section 5: Lets Build a VM
At this point, you should have VirtualBox installed on your system. Upon launching the application, you will be presented with an interface similar to the one shown below. If you are already familiar with VirtualBox, you can proceed with the following steps. Our goal is to create a virtual machine configured with 4 processor cores, 4GB of RAM, and 40GB of hard drive space.
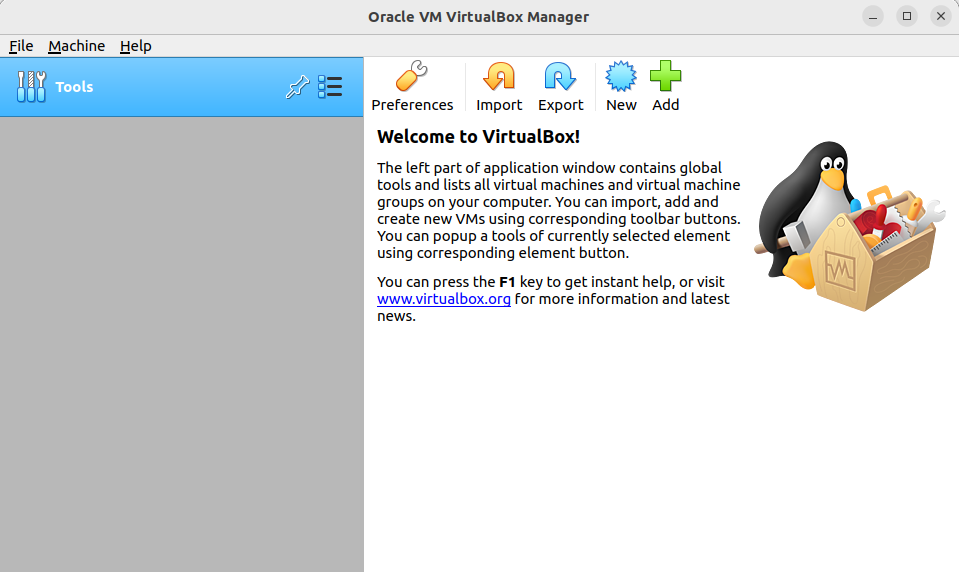
To get started, here we will click new. Which will present you with the screen below.

Let's begin by configuring our virtual machine. For this project, we'll name the VM LOGG-Stack. In the Machine Folder field, set the directory to LOGG-Stack-VM to keep your files organized. In the Type dropdown menu, select Linux, and in the Version dropdown, choose Ubuntu (64-bit). Next, set the memory allocation to 4096 MB (which is roughly 4 GB of RAM). You can either type this value directly or use the slider to adjust it. Once these settings are correctly configured, the setup screen should resemble the one shown below.
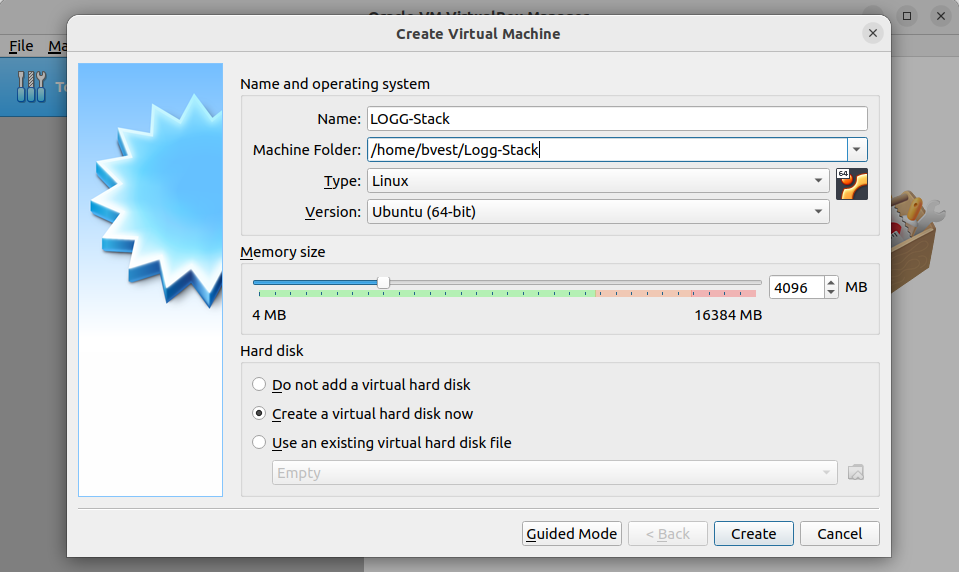
When you have all of this setup click the Create button and lets move on to the next steps.
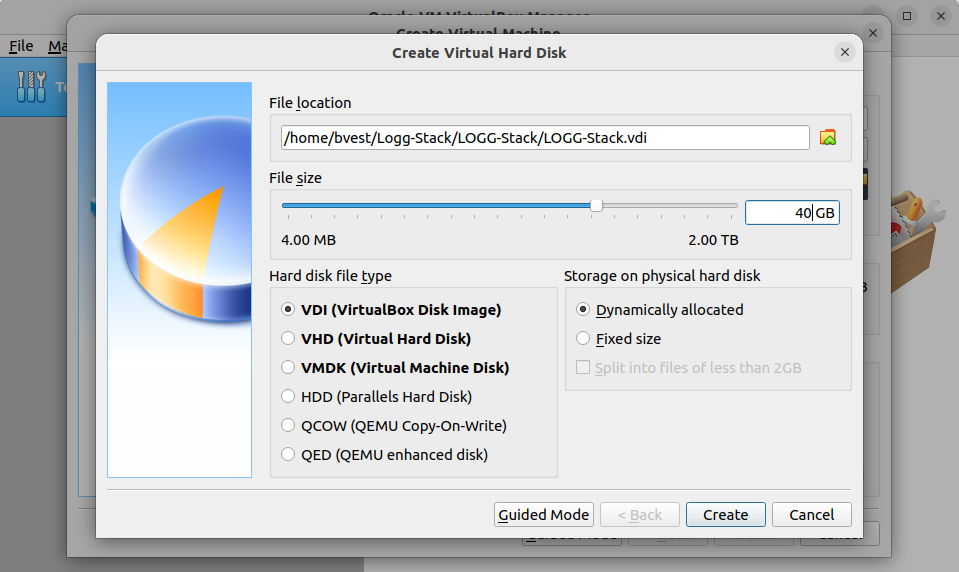
After clicking "Create," you will be directed to the virtual hard disk creation screen. This screen presents several options, most of which can be left at their default settings. However, it's important to allocate more space for this VM than the default 10GB. To do this, either type in 40GB or use the slider to adjust the disk size accordingly, as shown below.
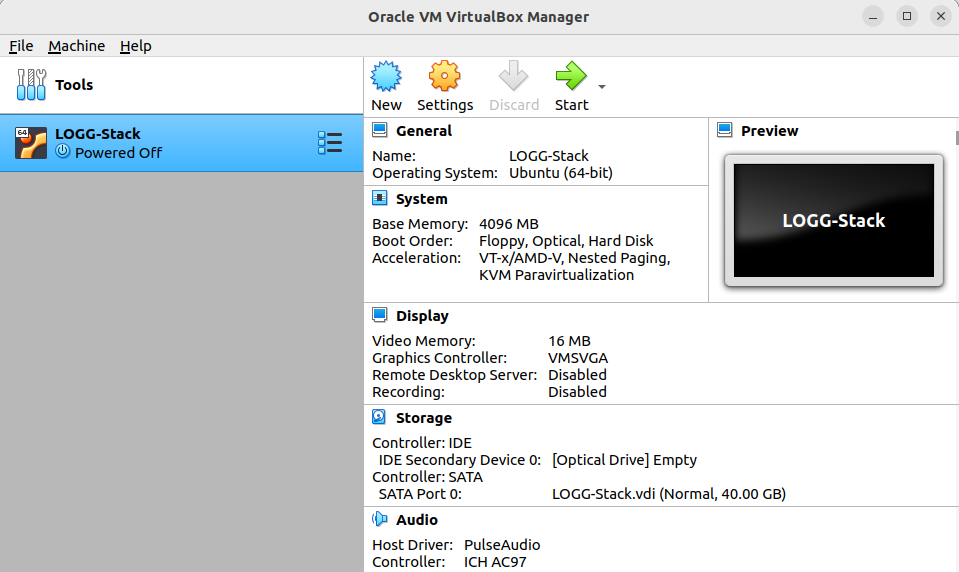
Once you click "Create," the setup process will complete fairly quickly, and you'll be returned to the main VirtualBox interface. You should now see our newly created VM, LOGG-Stack, listed and ready for launch. The setup process is straightforward, and your virtual machine is now prepared for the next steps in our project.